

Introduction
In this article, we are looking at the Flutter CLI and its most common use cases for building, testing, deploying, and running Flutter applications.
When developing Flutter apps with code editors like Visual Studio Code, Android Studio, or XCode, you don’t need to use the command-line tools of Flutter in general. But all these editors use them internally all the time, probably without you noticing it. So let’s dive into the Flutter CLI and see what its capabilities are.
General
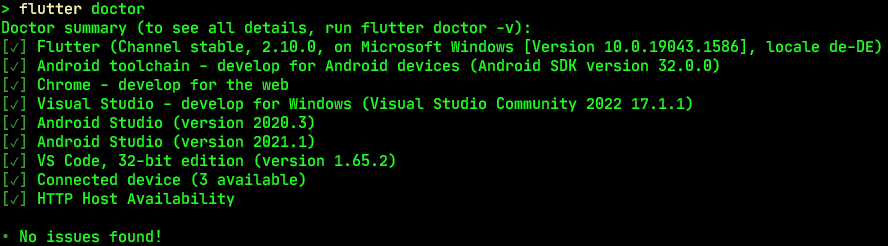
▶ flutter doctor [-v]
The doctor tells you the current state of your system and if there is anything missing to work with Flutter. It shows SDK versions, finds code editors, lists connected devices, and identifies problems. Use the -v switch to get more detailed information.
▶ flutter create
With this command, you can create a new Flutter project or repair an existing one. It allows you to specify a project name (--project-name), a description (--description), supported platforms like iOS, Android, Windows, Linux, macOS, and web (all are enabled by default), or what type of project it is (--template).

There are other ways to create a new Flutter project besides the CLI. Check my article below to find out how.

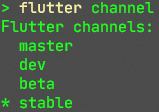
▶ flutter channel
Use this to switch between the different development channels. There are currently four channels available: stable, beta, dev, and master. Stable is the safest channel with the most testing done, master contains hot new stuff and can change daily.
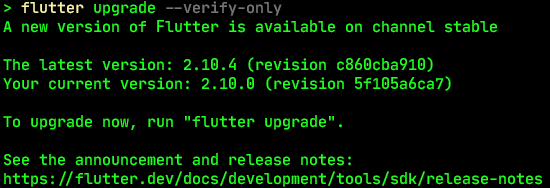
▶ flutter upgrade
Upgrades to another version on the current channel. With the switch--verify-only you can check for new versions without upgrading.
Implementation
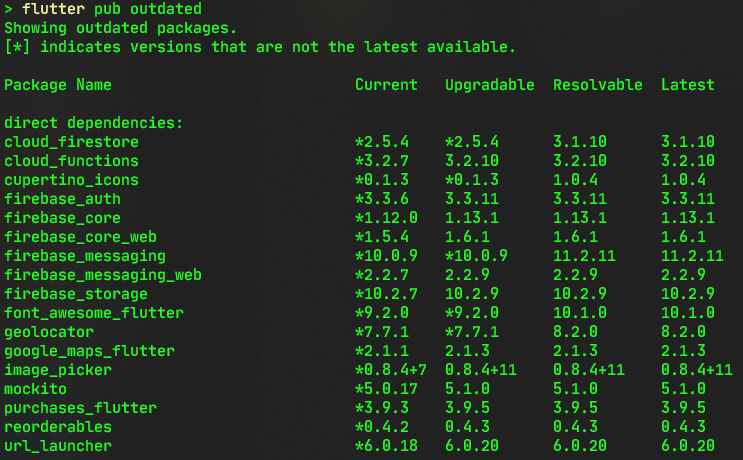
▶ flutter pub [add/outdated/upgrade/get]
With this command, you can manage your packages in your Flutter app. It helps you add packages with add, find outdated versions with outdated, upgrade them with upgrade, or synchronize them with get.
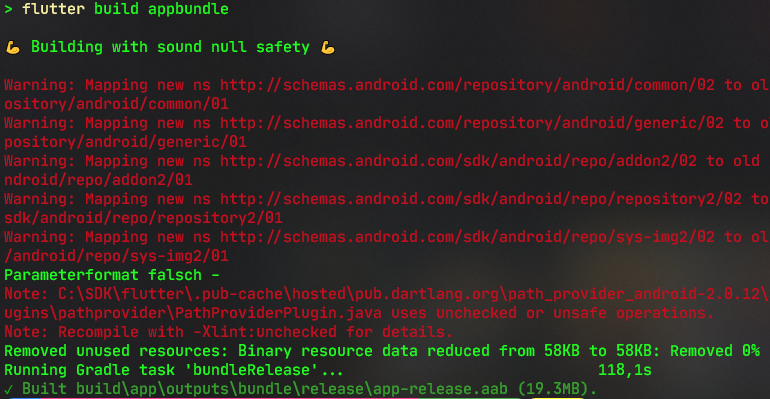
▶ flutter build [target]
The build command creates a deployable app from your code to the target platform. You need to provide a subcommand to indicate what target you want to build. Your options are
- Android (
apk,appbundle) ➡ How to build for Android - iOS (
ios,ipa) ➡ How to build for iOS - Web (
web) ➡ How to build for web - Linux (
linux) ➡ How to build for Linux - Windows (
windows) ➡ How to build for Windows - Mac OS (
macos) ➡ How to build for Mac OS
Only available options are shown in the help menu (flutter build -h) depending on your current system. That means if you are, for example, developing on a Windows machine, you won’t have the option to build for Mac OS.
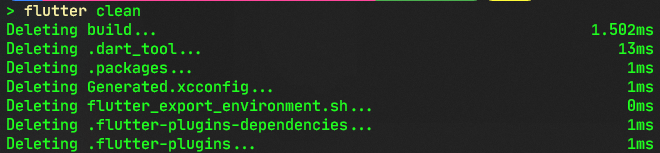
▶ flutter clean
This command cleans caches and deletes build output data. If your app isn’t working as expected or throwing suspicious errors, try this command and run it again.
Deployment
▶ flutter test
Runs unit tests of the current project. This command has many options available. You can measure code coverage with the switch --coverage for example.

If you want to know more about testing with Flutter, check these two articles about testing and code coverage.
▶ flutter devices
List all available and connected devices like mobiles, browsers, or operating systems.

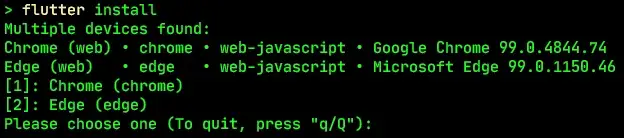
▶ flutter install
Installs the app to a device. If multiple devices are available, the command will ask for the device.
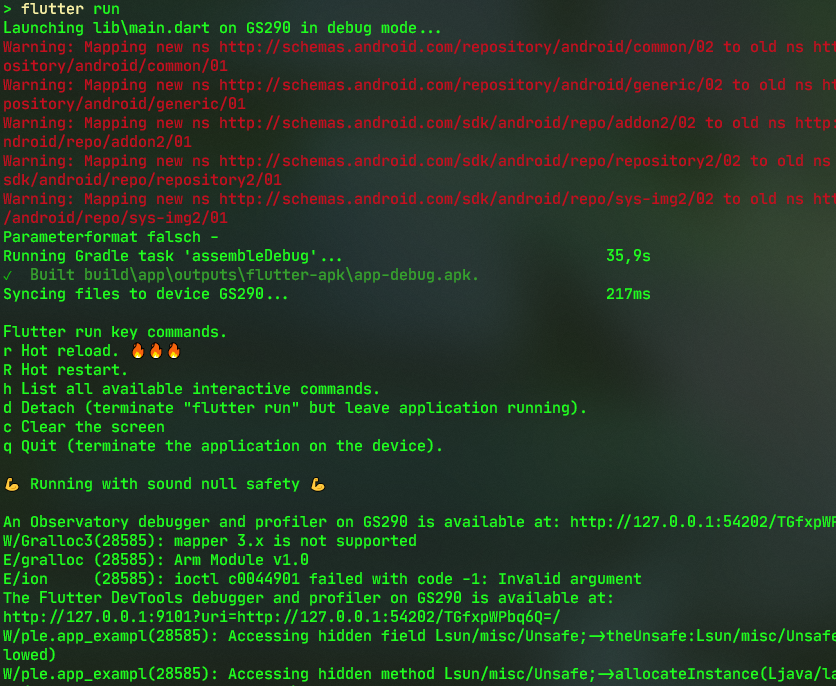
▶ flutter run [arguments]
Runs the current app on the selected device. Here are some frequently used arguments:
--debugruns in debug mode--profileruns in profile mode for optimized performance measuring--releaseruns in release mode--trace-startuptrace app startup and save file into build directory--routedefine a custom route to load on app launch--flavorbuild a custom flavor/scheme depending on the platform
Conclusion
The Flutter CLI is very powerful and offers some very good and useful tools. But there might be a chance that you don’t ever need to run a single command yourself because your IDE does all the work for you. But if you ever need to use the CLI, those insights above might be quite handy.

