How To Implement Double Opt-In With Firebase and Flutter
Introduction Link to heading
To comply with the General Data Protection Regulation (GDPR) of the EU, the double opt-in process is the best way. It means that users need to confirm a registration with a secondary step. Usually, this is done by clicking a link in an email. In this article, I’ll show you how you can use Firebase to set up such a process. Let’s get started on how to implement double opt-in with Firebase and Flutter.
❗ Warning
I am not a lawyer and I cannot tell if your app/website violates the GDPR.
This article only shows how you could implement a double opt-in feature.
Preparation Link to heading
We will use Firebase Authentication for the registration and verification process. Sadly, the double opt-in feature is not just a setting that we need to enable. Instead we need to write some code. But it is not very much ;-)
If you haven’t used Firebase Authentication before, read my instruction article to get started.
I created a small Flutter web app to demonstrate everything. You can use whatever programming language you like since Firebase offers many SDKs to work with.
We start with a simple form to enter email and password to create an account. It can look like this:
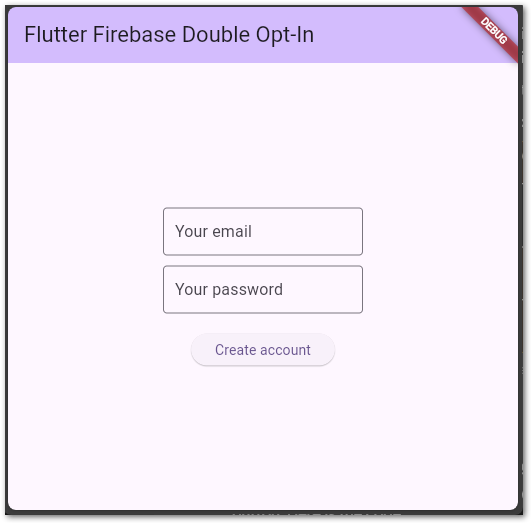
Flutter web app registration form to create an account with Firebase Authentication
When you click on the button, the following code is executed:
Dart
Future<void> _register() async {
  try {
    final cred = await FirebaseAuth.instance
        .createUserWithEmailAndPassword(email: email, password: password);

    await cred.user!.sendEmailVerification();

    if (mounted) {
      ScaffoldMessenger.of(context).showSnackBar(const SnackBar(
          content: Center(
              child: Text("Account created!\\r\\nCheck your inbox!",
                  textAlign: TextAlign.center))));
    }

    setState(() {});
  } catch (ex) {
    if (mounted) {
      ScaffoldMessenger.of(context).showSnackBar(SnackBar(
          content: Center(
              child: Text("The following error occured:\\r\\n$ex",
                  textAlign: TextAlign.center))));
    }
  }
}
The createUserWithEmailAndPassword method should be self-explaining. Firebase even returns handy error messages in case the email is invalid or the password too weak.
After that, we use sendEmailVerification to start the process. An email is sent to the user with a link to click. You can customize the email template in the Firebase Console.
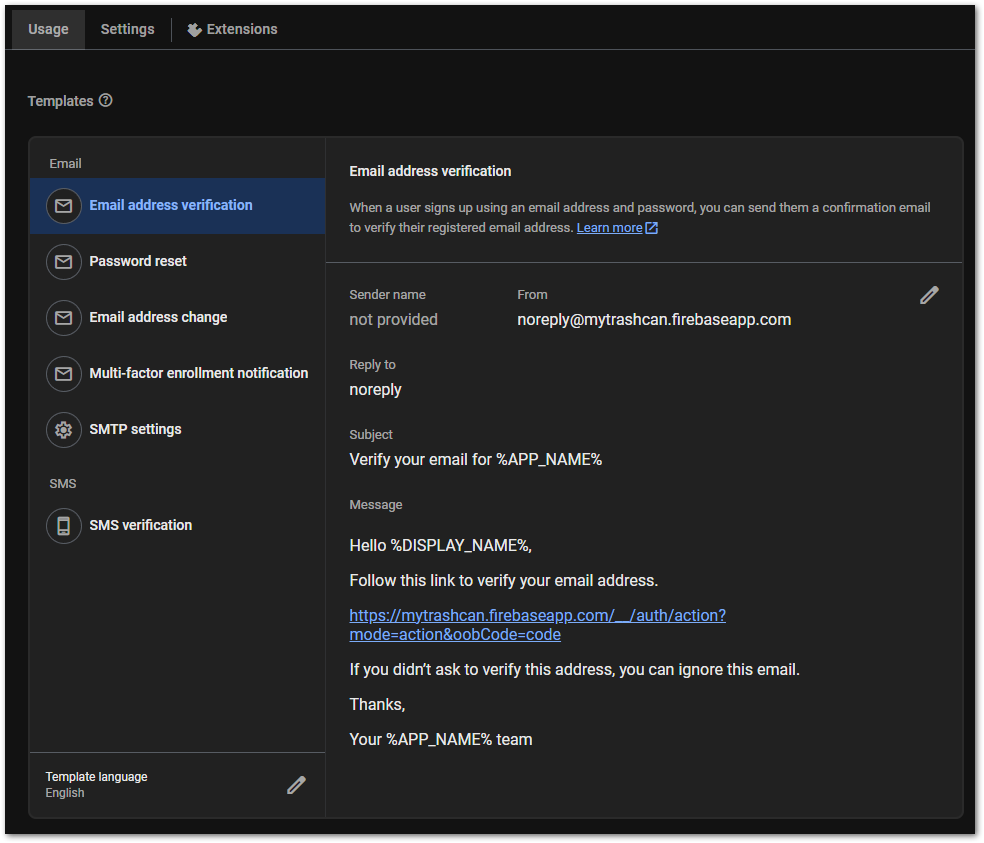
Email template customization option in Firebase
The rest of the code is just to inform the user.
💡 Tip
While the registration hasn’t been confirmed, you could show a
notification in your app and prevent access to some features/sections.
Verification Link to heading
When the user clicks the link in the email, the property emailVerified of the user object of Firebase Authentication is set to true.
Sadly, there is no mechanism to listen to that change because there is no method that fires in this case. As an alternative you can use the reload() function to get the most recent user data which includes the updated property emailVerified.
Here is some example code of how you can do that:
Dart
Future<void> _checkIfVerified() async {
  try {
    await FirebaseAuth.instance.currentUser!.reload();

    setState(() {});
  } catch (ex) {
    if (mounted) {
      ScaffoldMessenger.of(context).showSnackBar(SnackBar(
          content: Center(
              child: Text("The following error occured:\\r\\n$ex",
                  textAlign: TextAlign.center))));
    }
  }
}
In the demo application, the user needs to click a button to refresh the data. One could also use a timer for that but this solution is also not perfect. This is one of the weak points of the Firebase approach.
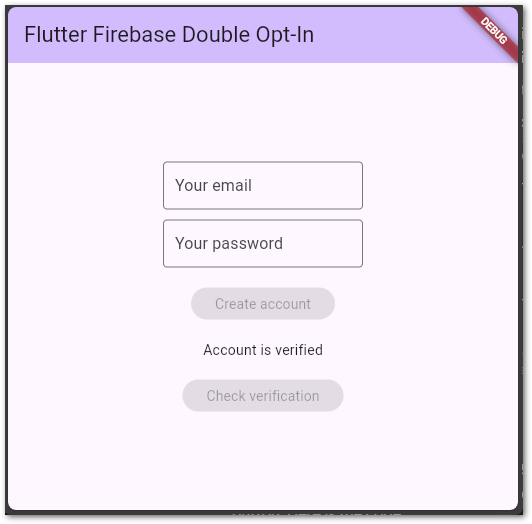
Flutter web app to trigger verification of an account with Firebase Authentication
This is the entire magic. With very few lines of code and a bit of Firebase configuration, the email verification is in place.
The source code is available here.
Bonus Link to heading
You can also configure the verification to be handled by mobile apps by passing an ActionCodeSettings object to the sendVerificationEmail method. Here are more details for you about the process.
Check out the Flutter Firebase Compendium to learn more about Firebase and its services!
Conclusion Link to heading
You learned how to implement double opt-in with Firebase and Flutter in this article. It’s the best way to comply with data protection regulations. The setup is rather easy and if you don’t have hundreds of new users per day, you won’t pay anything with this system.
Related articles Link to heading

How To Connect Data Between Different Firebase Services Link to heading
Connect data between different Firebase services that belongs together with this simple idea!
Create Your Own Custom URL Shortener with Firebase in Just a Few Simple Steps Link to heading
Save coding time by using Firebase Extensions and create an URL shortening service in minutes! Here’s the full guide.
Building A Simple Text Translation App With Flutter And Firebase Link to heading
With Firebase Extensions you can build a simple text translation app that does most of the work for you.