
Introduction
Sick of the boring terminal command prompt? Don’t be! Learn how to customize your terminal command prompt and icons.
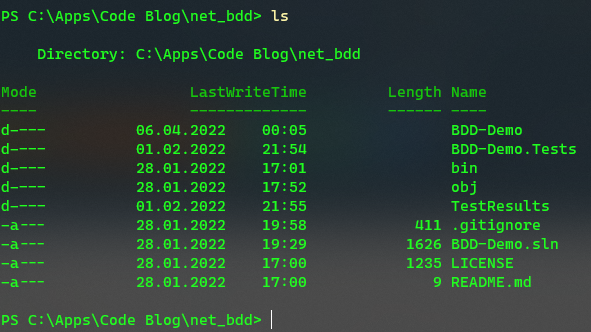
In this tutorial, I am going to show you how to customize your terminal command prompt and icons. My example will work with Windows Terminal and PowerShell Core, but you can also do it on your MacOS or Linux system. The list of supported shells currently includes PowerShell, cmd, zsh, bash, fish, and nu. I’ll show you step by step how to transform this
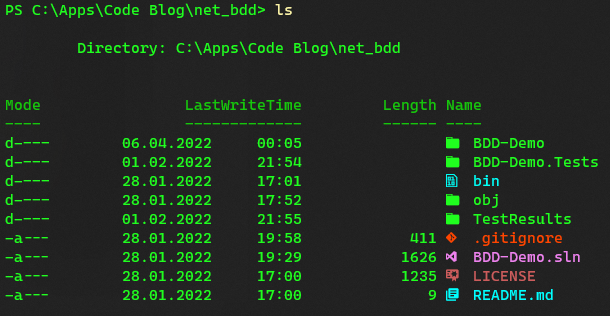
into that!

Installing PowerShell and Windows Terminal
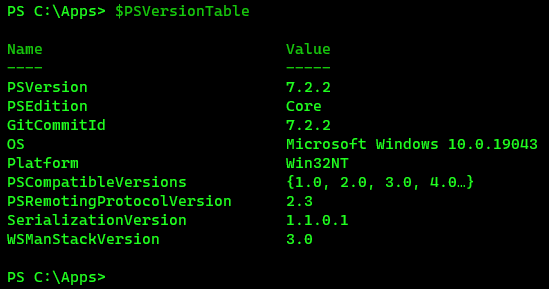
First, make sure you have PowerShell Core installed. With the command $PSVersionTable you can check this.
If necessary, install PowerShell Core with one of the following steps.
▶ Manual installation with the msi package
▶ Install with winget winget install Microsoft.PowerShell
▶ Install with Microsoft Store
In the next step, you need to install Windows Terminal if you haven’t done already.
▶ Manual installation with the msi package
▶ Install with winget winget install Microsoft.WindowsTerminal
▶ Install with Microsoft Store
Is everything installed and ready? Then let’s continue with the fun part ?
Want More Flutter Content?

Join my bi-weekly newsletter that delivers small Flutter portions right in your inbox. A title, an abstract, a link, and you decide if you want to dive in!
Changing the command prompt
The tool to customize your command prompt is Oh My Posh. You can install it with package managers like winget, scoop, or chocolatey on Windows. For Linux and MacOS check the install instructions. There is also a PowerShell command that installs the software.
💡 Tip
The following commands are specific to PowerShell and Windows!
Next, we need to initialize oh-my-posh. It will load the default theme which we will change later. Edit your PowerShell profile with the command notepad $PROFILE and insert the following code.
oh-my-posh init pwsh --config <path-to-theme-file> | Invoke-ExpressionNow you need to select a theme file. There are a lot of options to choose from, so pick your favorite and download the JSON file. You can also use my current theme if you like. Store the JSON file on your computer, insert the path into the command above, and save your profile. Use . $PROFILE to reload your changed settings. Your customized command prompt should be visible now.
❗
Warning
Put your path in quotes (“”) if it contains spaces. Otherwise, the theme won’t be found.
❗
Warning
If you can’t edit your profile, the file might be missing. Execute $PROFILE to find the expected path and then create an empty file at the location. The default file name is Microsoft.PowerShell_profile.ps1 and the default location is C:\Users\<user>\Documents\PowerShell.
❗
Warning
If PowerShell is preventing script execution, check the following link to handle the problem.

To make the prompt truly your own, check out the documentation about themes. You can for example insert segments to show the currently played Spotify song, the current .NET version, version control information of git, or the execution time of the last command. Edit your current theme file or create a new one from scratch. Read the documentation if you have questions. It’s pretty good!
My prompt contains 6 segments:
▶ The OS segment (the Windows Icon)
▶ The Path segment (shows the current folder)
▶ The Time segment (shows the current time)
▶ The git segment (shows the current branch, only visible in git folders)
▶ The Dotnet segment (shows the current .NET version, only in .NET folders)
▶ The Exit segment (shows the status of the last command)

Changing the font
It is recommended to use a Nerd Font so that your customized command prompt doesn’t show any errors.

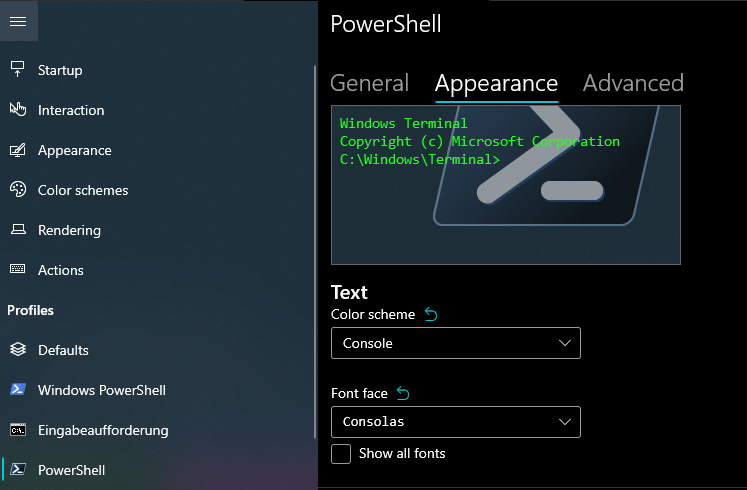
Check this archive of fonts, choose your favorite, download it, install it, and set it as the default font in your shell. In Windows Terminal, go to “Settings”, select your profile, go to the tab “Appearance” and choose the installed font from the list. A restart of the Terminal might be required if the font is not available.
After the change, your prompt should show the correct characters and icons.

Changing the icons (PowerShell only!)
Changing icons is rather easy compared to the previous steps. You just need to execute the command Install-Module -Name Terminal-Icons -Repository PSGallery in PowerShell and add the command Import-Module -Name Terminal-Icons to your profile. Then start a new PowerShell session or reload the profile with . $PROFILE and the icons should have changed.
Conclusion
In this article you learned how to customize your terminal command prompt and icons. The customization of the PowerShell command prompt can be more than just an optical improvement. Depending on what you configure and what your workflow is, the benefits can be quite huge.
Check out Oh My Posh, Nerd Fonts, and Terminal Icons to customize your prompt the way you want it to be! Scott Hanselman also blogged about this topic and created a great guide. Check it out if you have more detailed questions.
Related articles