Introduction
In this article, I guide you through the setup steps for Cloud Firestore and show you how to use Firebase Cloud Firestore with a Flutter app. We take a look at CRUD operations, security rules, and some pitfalls to avoid.
Firebase Cloud Firestore is a scalable NoSQL cloud database where you can store relevant data for your apps. It is very flexible and can be secured with access rules. You will learn ow to use Firebase Cloud Firestore with a Flutter app. In the following sections, we’ll talk about
- Setting up the database
- Working with the Firebase database editor
- Accessing the database from a Flutter application
- Adding security rules for access control
Flutter ❤️ Firebase

Get started with Firebase and learn how to use it in your Flutter apps. My detailed ebook delivers you everything you need to know! Flutter and Firebase are a perfect match!
You will need to set up a Firebase project by yourself to use these code examples here or the one from my GitHub page. If you haven’t done that already, here is an article to guide you through the necessary steps.

Initial setup
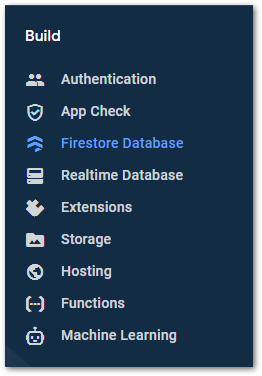
Open the Firestore Database menu in your Firebase dashboard.
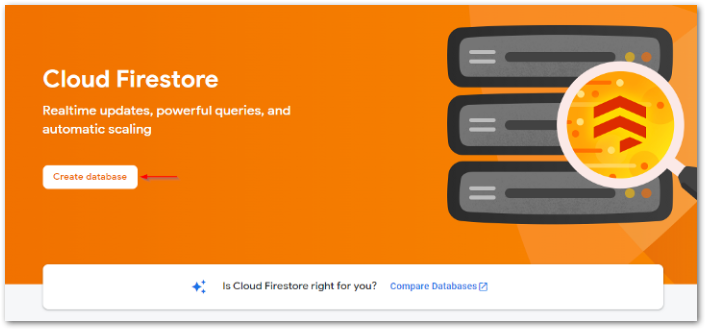
Next, create a new database by clicking the button Create database.
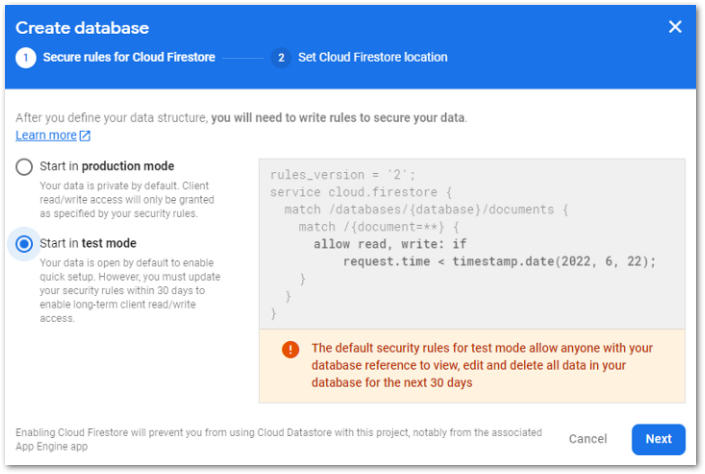
The following wizard screen asks for production or test mode. We’ll start with test mode and configure security rules later in the process. Be aware that without security rules, anyone can read and write (and even delete) data in your database!
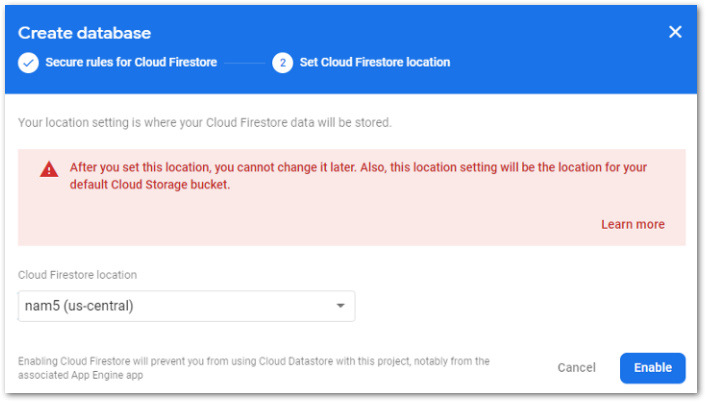
Finally, you’ll be asked to select a location. This affects pricing and availability (you can read further details here). For this example, there won’t be any costs as the database contains enough free operations.
After the process, you’ll see an empty database ready to use.
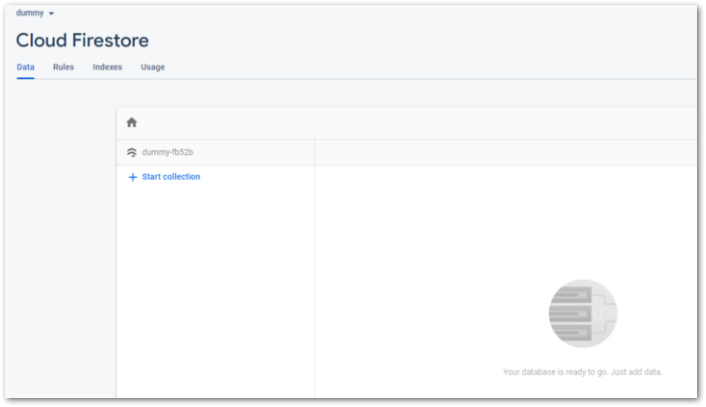
In the next steps, we’ll add, edit, and delete data, and configure security rules to prevent third-party access.
Working with the Firebase editor
The Cloud Firestore editor allows you to add, edit, and delete data from the web dashboard.
Click on + Start collection to create a new one. A collection is basically a folder that contains multiple documents. We will name it cars in this example.
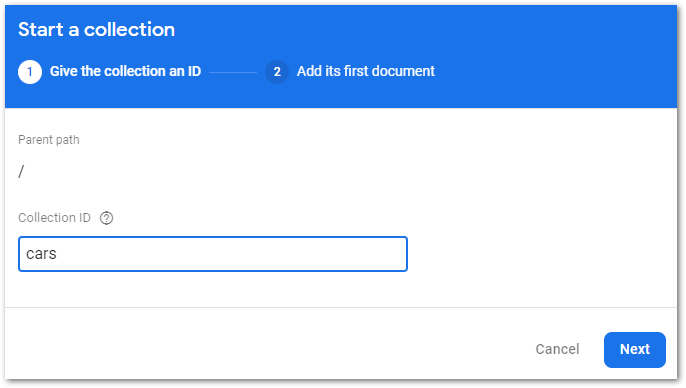
In the next step, you’ll be asked to add the first document. This can be anything from just one simple key-value pair to complex and nested JSON objects. You can even start new collections in a document. For identification, every document needs an ID which can either be auto-created by Firebase (my recommendation for now) or you take care of it. Hit the Auto-ID button to generate an ID for your document.
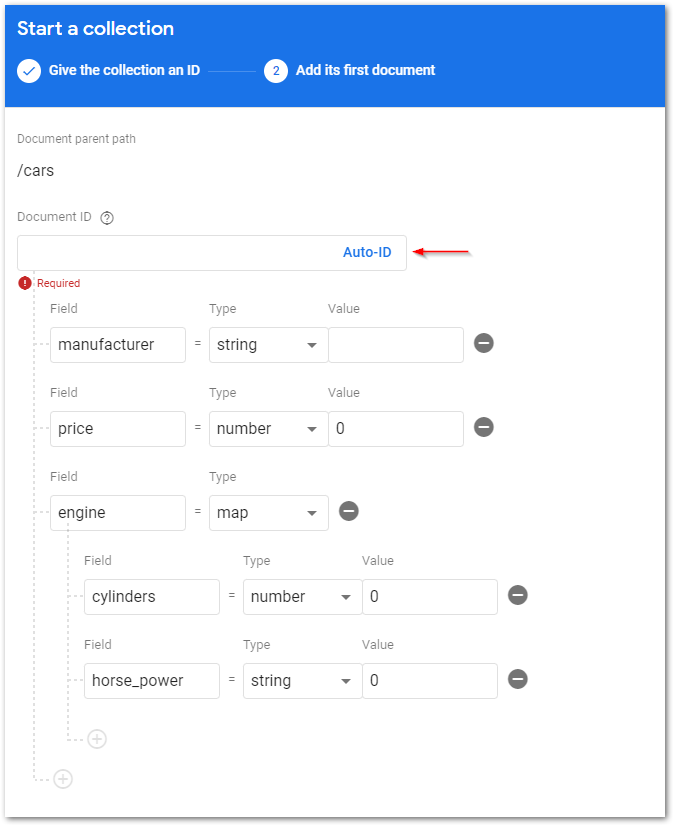
As you can see, I added some fields, types, and values to demonstrate the editor. We won’t be using the graphical editor, but focus on managing data with code in the next session.
Access from a Flutter application
The first step is to install the cloud_firestore package. After that, you can access the database. The following code examples show how to get, add, edit, and delete data with Cloud Firestore.
The workflow is pretty similar in all methods. Use the FirebaseFirestore.instance, access a Collection identified by a string, use orderBy or where clauses, and perform an asynchronous get. Take the docs property to get a List<QueryDocumentSnapshot<Map<String, dynamic>>>. Every single list item can be converted into a JSON Map with the data() method. And finally, you can convert the Map into a real dart object.
💡
Tip
Use tools like dart-quicktype to generate class definitions from JSON code.
To add documents (entries) with auto-generated IDs, call the add() method on the desired collection. The collection will be created if it cannot be found. If you want to specify the document ID, use the collection(”someCollection”).doc(”myUniqueDocId”).set(data) approach.
❗
Difference between set and update
Let’s assume, your data structure in a Firebase document looks like this:
{ “text”: “Hello World”, “number”: 3 }
When performing an update operation with { “text”: “World Hello” }, only the text property is changed. Nothing happens to the number property. When performing a set operation with { “text”: “World Hello” }, the text property will be changed, but the number property will be removed!
Be careful when using set()!
Check out the source code for a complete example of how to use the basic database operations.
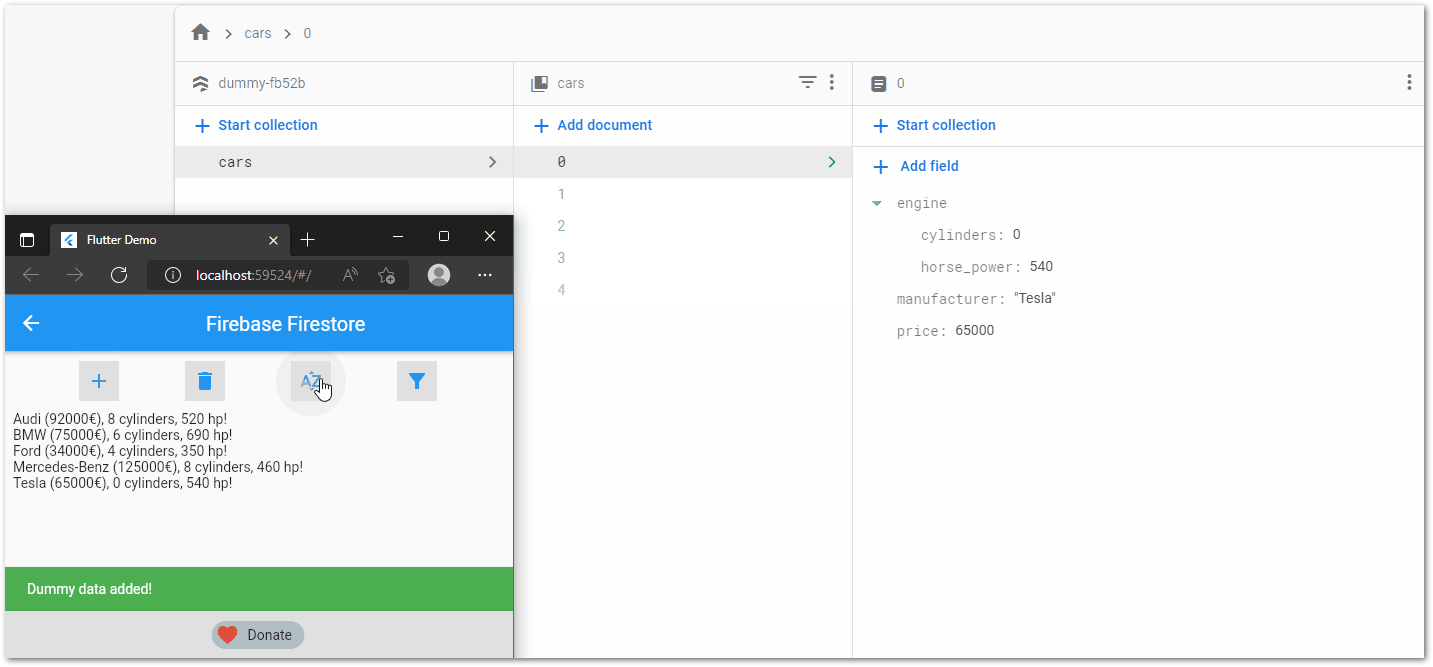
Here is a short demo video of the application. It inserts data into the database, performs two get operations with sorting and filtering, and finally deletes the data again.
Set up security rules
Security rules ensure that only those operations happen on the data that are supposed to happen. There are various options to configure rules, but I’ll give only a brief introduction. For further details, refer to the Firebase documentation or the following two articles.
Your current rule will look similar to this:
service cloud.firestore {
    match /databases/{database}/documents {
        match /{document=**} {
	          allow read, write: if request.time < timestamp.date(2022, 6, 22);
      	}
    }
}
The first line identifies the used service because rules can also apply to Cloud Storage and Realtime Database. The following match statement(s) identify for which entities the rule should be enforced. You can nest multiple match statements or just use one. The allow statement tells us under which condition(s) access is allowed. After the allow keyword, you can add multiple methods like read and write. The following methods are available:
- get – read single documents
- list – read queries
- create – write new documents
- update – write existing documents
- delete – delete data
- read – get + list
- write – create + update
match statements often use wildcards. Text in curly brackets like {database} is a single-segment wildcard and can be used in conditions, for example. To make the wildcard recursive, add two star characters {document=**}.
The rule above denies access to all documents in the database after June, 22nd of 2022.
Here are some common rule conditions that you can use:
allow read, write: if false; // no access

allow read, write: if request.auth != null; // access when authenticated

match /users/{userId} {
	allow read, write: if request.auth != null && request.auth.uid == userId;
} // access only own documents

match ... {
	allow read: if true; // read access for everyone
	allow write: if request.auth != null; // write access when authenticated
}
You can find more examples in the articles above and in the Firebase documentation.
Conclusion
In this article, I showed you how to use Firebase Cloud Firestore with a Flutter app. Cloud Firestore is a simple cloud database solution for your app. With the provided examples and source code you should be able to make your first steps.
You can find the complete example source code on my GitHub page.
Related articles


